I purchased a generic side cutter presser foot with my overedge presser foot. In this post, I discuss what a side cutter presser foot looks like and what it can be used for.
What does it look like
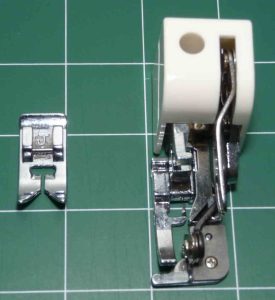
If you’re familiar with a universal presser foot (aka zigzag presser foot) you will notice that a side cutter presser foot is longer, wider, has a bar in the opening and has an angled blade. On the left is my low-shank, snap on universal presser foot. On the right is my generic side cutter presser foot.
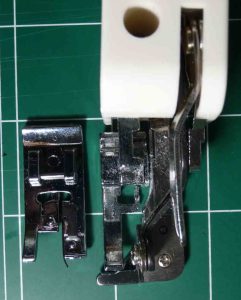
Side cuter presser feet resemble overedge feet. Here’s a photo of my overedge foot (left) and side cutter foot (right).
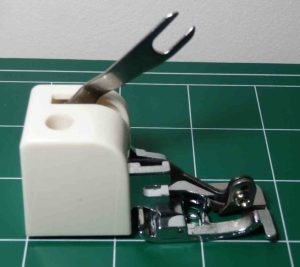
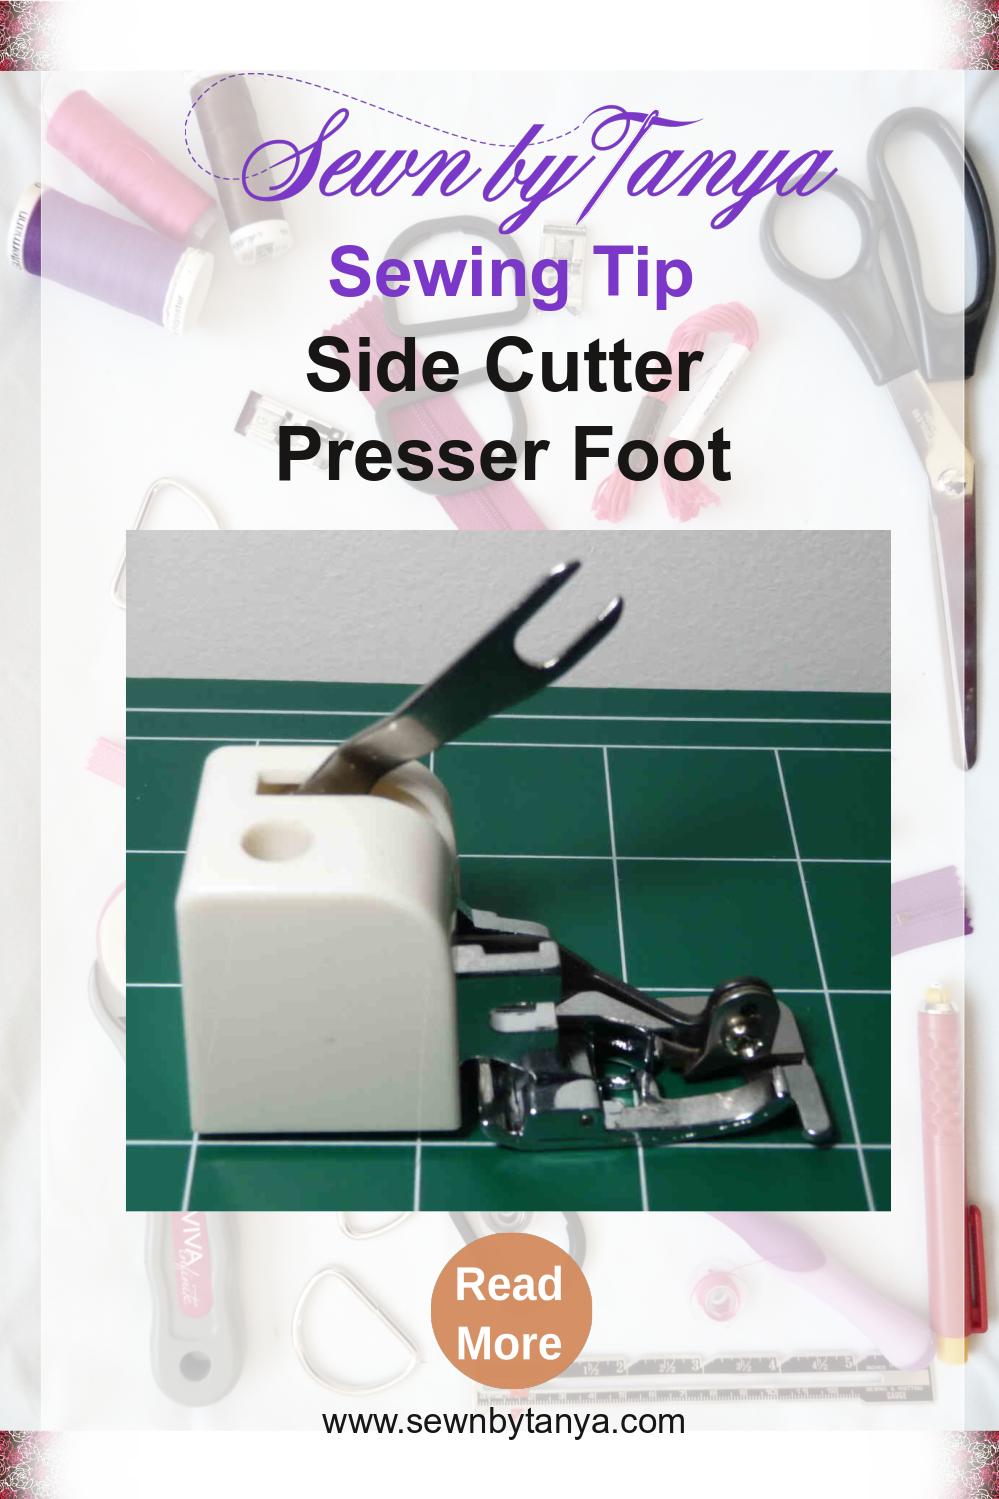
Here’s a side view of my side cutter foot.
Different brands of side cutter presser feet are slightly different. Specific side cutter feet are available for most brands of sewing machines. Alternatively look for universal or generic side cutter feet that are compatible with several brands of sewing machines. Slide the arm of the side cutter foot over the needle clamp screw of your sewing machine. Side cutter feet for low shank sewing machines may snap on or require you to screw them on in place of your presser foot holder.
How Does It Work
A long needle clamp screw is required to use a side cutter presser foot. The arm of a side cutter presser foot moves up and down as your sewing machine needle moves up and down. The left cutting blade moves up and down in time with the arm. The right cutting blade is fixed and the action of one blade moving against the other works like a pair of scissors to cut your fabric.
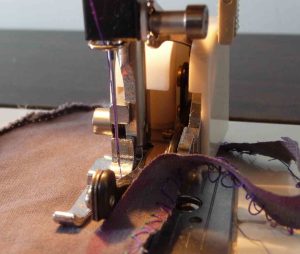
The fabric to the right of the blade must be above the presser foot in order for the side cutter presser foot to cut it. Cut a 2-3 cm (~1 inch) long strip at the beginning of the seam and hold it above the presser foot while you position the remaining fabric under the presser foot.
I took a short video of my side cutter foot to demonstrate it sewing.
Use side cutter feet to sew forward with a straight stitch or zigzag stitch. Sewing in reverse and other stitch patterns could damage your side cutter foot.
What does it do
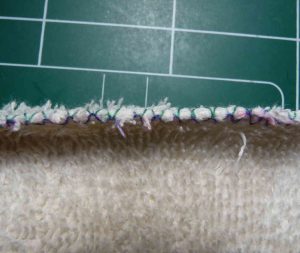
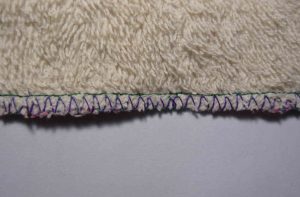
A side cutter presser foot mimics the actions of a serger by finishing an edge and trimming it at the same time. One pass with a side cutter presser foot with a zigzag stitch looks similar to the results obtained with an overedge presser foot, but I didn’t have to trim the seam allowance before sewing.
I finished one edge of the same towel with a serger threaded with four threads. I’m not sure which side was the top.
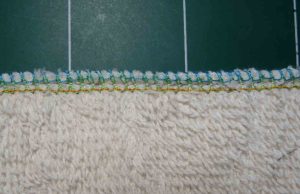
Sergers stitch a seam, trim the excess seam allowance and finish the edge of your fabric in one step. They can accomplish all this without stretching the fabric.
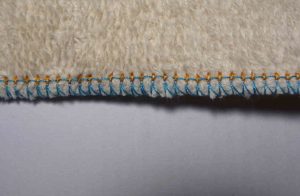
I sewed a straight stitch using the side cutter foot beside the zigzag to more closely mimic a serger. No fabric needs to be trimmed off so it all goes under the presser foot. There is some evidence of fabric stretching.

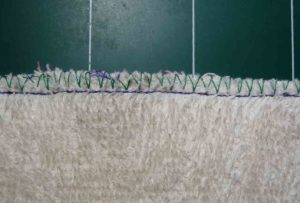
You can also use a straight stitch for your first seam with a side cutter foot and a zigzag stitch for the second (with no cutting) to finish the seam. My side cutter foot works with both woven and knit fabrics.
Conclusion
A side cutter presser foot is like an overedge presser foot that simultaneously cuts the seam allowance as you sew. Depending on your project and your ability to accurately cut out your project pieces, trimming as you sew (side cutter) may or may nor be faster than trimming then sewing (overedge).
A serger does three things in one pass. They also sew much faster than sewing machine. If you don’t have a serger, a side cutter presser foot may help you mimic the effect. Sew your seams with a straight stitch and your universal foot then finish them using a zigzag stitch and your side cutter foot (or overedge foot).
Have you used a side cutter foot? What do you use it for? Comment below and/or Pin Me for later.
Tanya
Help support Sewn By Tanya
If you love what I do, have learned from reading my blog, and/or want to support my work financially, consider becoming a Sewn By Tanya patron. Your monthly donation of $1 or more will help Sewn By Tanya grow and expand. A minimum $6 per month gives you access to Sewn By Tanya Patreon only content. There’s so much I’d love to do and you can help make it happen.


