There are many different types of seams that can be used to sew fabrics together. A flat felled seam is one of them and this post discusses how to sew this seam, it’s pros and cons, and some of it’s applications.
What Is A Flat Felled Seam
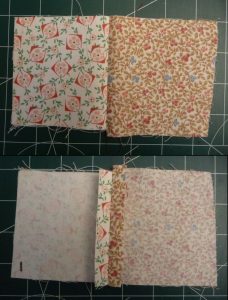
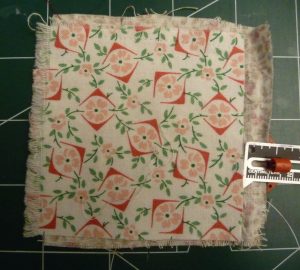
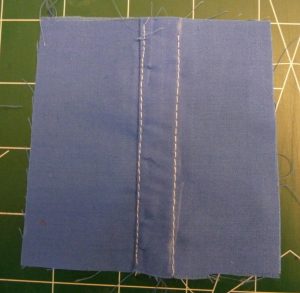
A flat felled seam is an overlapping seam without a visible seam allowance. Enclosing the seam allowance within the seam results in a stronger, more durable seam. These seams are often used for seams requiring additional strength and durability and can be sewn in either heavy fabrics or lighter fabrics. Flat felled seams in lighter fabrics are narrower than those in heavier fabrics. This seam is often used for jeans and other denim, men’s and women’s shirts, children’s causal clothing and reversible clothing. It can also be used for technical items like backpacks, duffle bags and tents.
A universal presser foot, teflon foot and felling foot can be used to sew a flat felled seam. A felling foot has a lip on the left hand side to turn the fabric edges over and a deep channel along it’s bottom to accommodate the additional layers of fabric. Felling feet are available in different sizes.

Plain Seam Using Universal Presser Foot
1. Pin your fabrics right-sides together and sew with a 1/2” seam allowance (or the seam allowance your project requires).
2. Press the seam allowance open.
3. Press the fabric open.
Flat Felled Seam Using Universal Presser Foot
1. Pin your fabrics wrong-sides together and sew with a 5/8” seam allowance (other seam allowances may be used).
2. Press both seam allowances to 1 side.

3. Trim the bottom seam allowance to ¼” using a rotary cutter (or shears if you don’t have a rotary cutter).
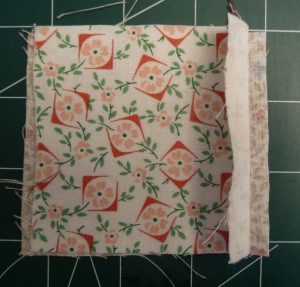
4. Fold the upper seam allowance in half so that in encloses the raw edges of the lower seam allowance then press it flat.

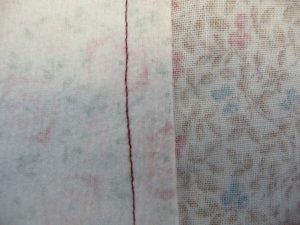
5. Stitch close to the folded over edge.
Flat felled feet are available in both low shank and high shank and a variety of widths. This is the method I’ve used to sew flat felled seams using a low shank, M6 felling foot. Your mileage may vary.
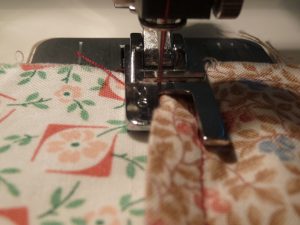
Flat Felled Seam Using an M6 Felling Foot
1. Stack your fabrics wrong-sides together with the lower fabric’s seam allowance extended 3/8” beyond the edge of the upper fabric.
2. Fold lower seam allowance over upper fabric and place under presser foot with the fold aligned along inner edge of the right presser foot toe.
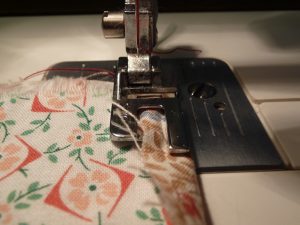
3. Sew three or four stitches while holding the thread ends.
4. Raise the presser foot then feed the raw edge of the bottom fabric over the left presser foot toe.
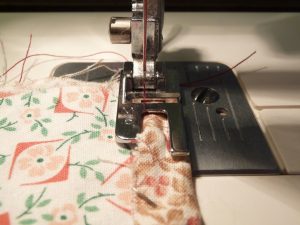
5. Resume sewing; raise the foot and cut the thread at the end of the seam.
6. Press the seam flap flat.
7. Place the seam flap under the presser foot with the folded edge pointing to the left and the needle just to the right of the sewn edge of the seam flap.
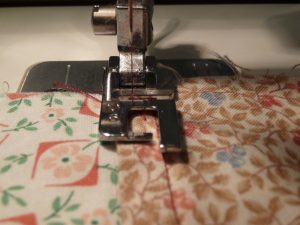
8. Sew a few stitches along the edge of the seam flap then raise the presser foot and place the seam flap over the left presser foot toe.
9. Resume sewing; raise the foot and cut the thread at the end of the seam.
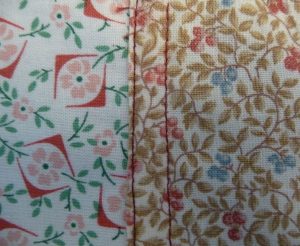
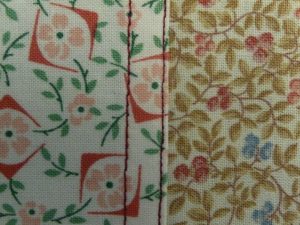
Flat Felled Seam Pros and Cons
Pros:
- easily create a consistent seam allowance when sewing the flat felled seam flap
- only 2 lines of stitching are required to create a strong, durable seam
- multiple layers of fabric may require a stronger sewing machine needle
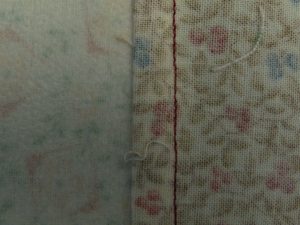
Cons:
- a wide seam allowance is required
- seams may appear thick and sloped as 2 layers of fabric are sewn through one 1 side and 3 on the other
- an extra step of seam allowance trimming may be required
Variations
In addition to the standard flat felled seam, there are some variations that can be used for decorative purposes.
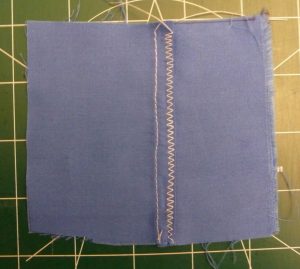
Contrasting Thread: Use a contrasting thread instead of a matching thread for top-stitching
Decorative Stitch: Use a decorative stitch instead of the straight stitch for top-stitching
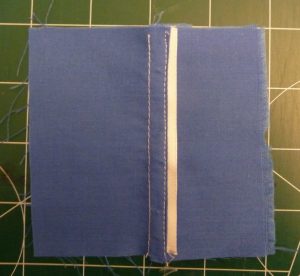
Ribbon or Lace: Tuck ribbon or lace under the flap of the flat felled seam leaving ¼” visible then sew the flap down.
Double Lapped Seam: The two fabrics are placed right side up with the edges to be sewn overlapping by ½” (or your required seam allowance). After the seam is sewn with a ¼” seam allowance, it is folded in an s-shape so that both raw edges are tucked inside. Press then stitch 1/8” from the folded edge then ½” away from that seam.
Conclusion
Flat felled seams are strong, durable seams that hide the raw edges of the fabrics. Felling feet are available but flat felled seams can be sewn with a universal presser foot. Wider flat felled seams are used for thicker fabrics. Variations on this seam can be used to add decorative touches to your projects.
Do you own any items sewn with a flat felled seam? Have you tried sewing this seam yourself?
Comment below and/Pin Me for later. Subscribe so you don’t miss a post.
Tanya

Help support Sewn By Tanya
If you love what I do, have learned from reading my blog, and/or want to support my work financially, consider becoming a Sewn By Tanya patron. Your monthly donation of $1 or more will help Sewn By Tanya grow and expand. A minimum $6 per month gives you access to Sewn By Tanya Patreon only content. There’s so much I’d love to do and you can help make it happen.


